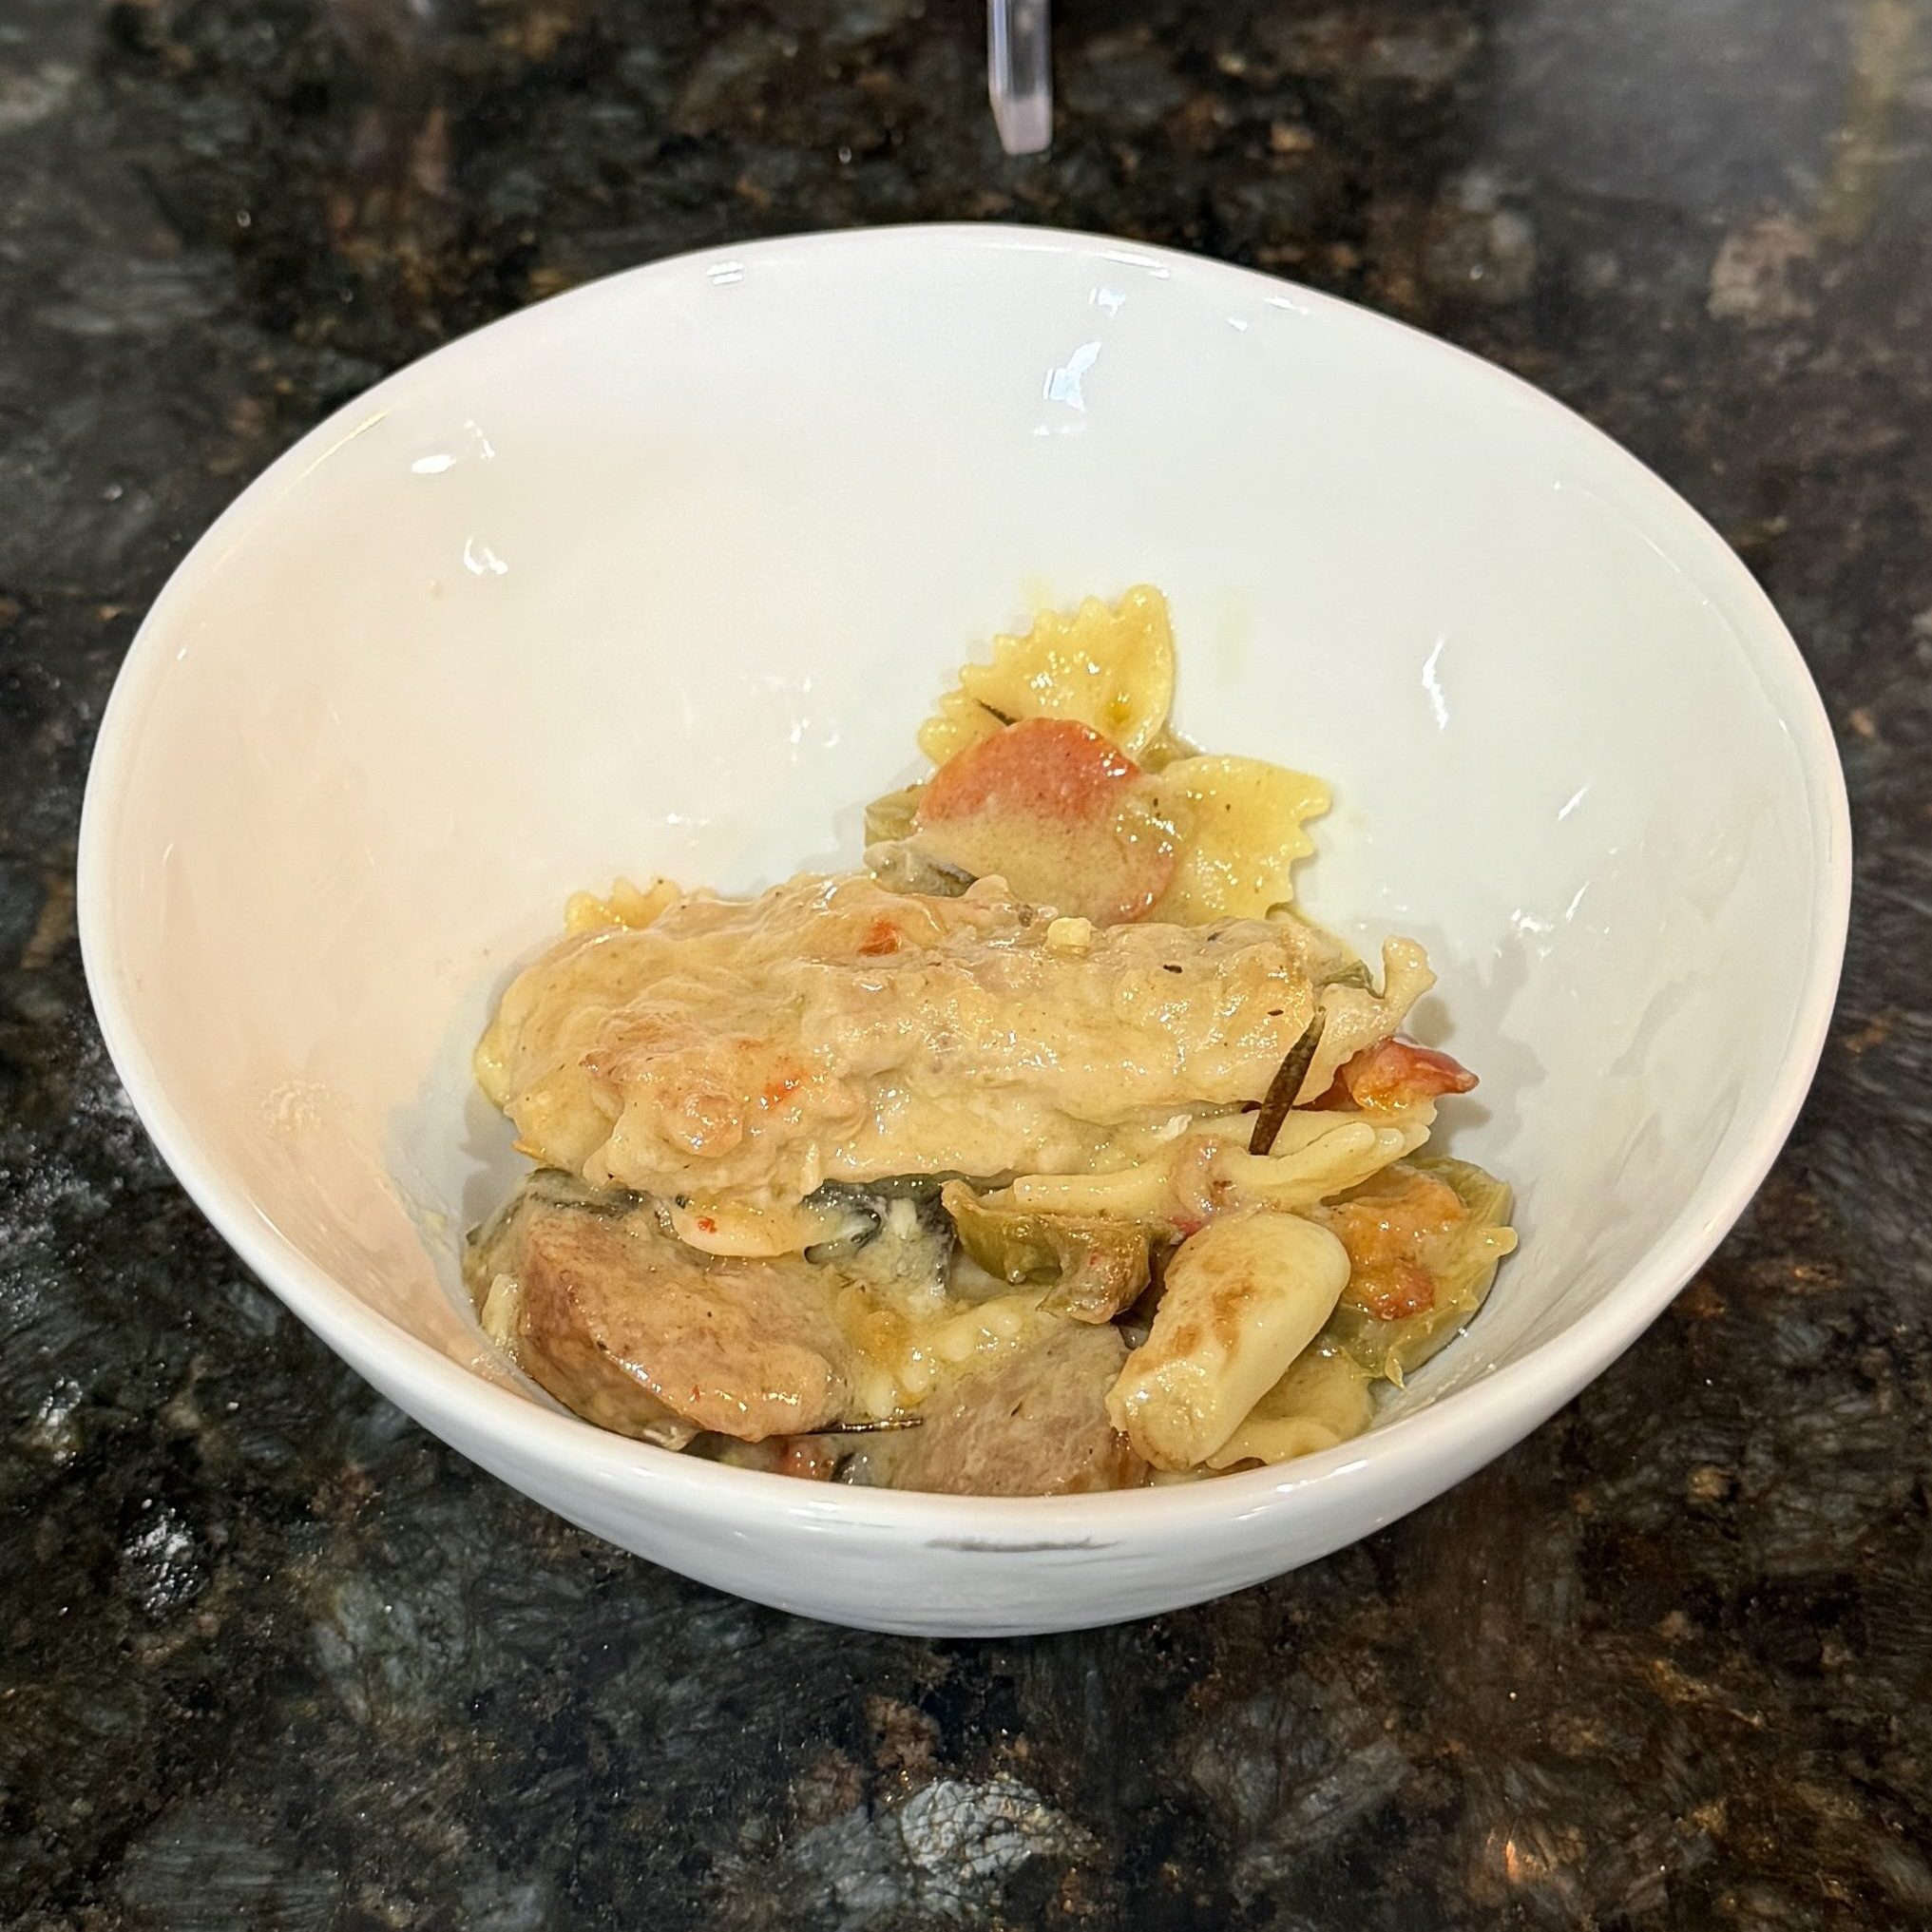
Sweet heat. Smoky goodness. Rich, savory gravy. All served over tender egg noodles.
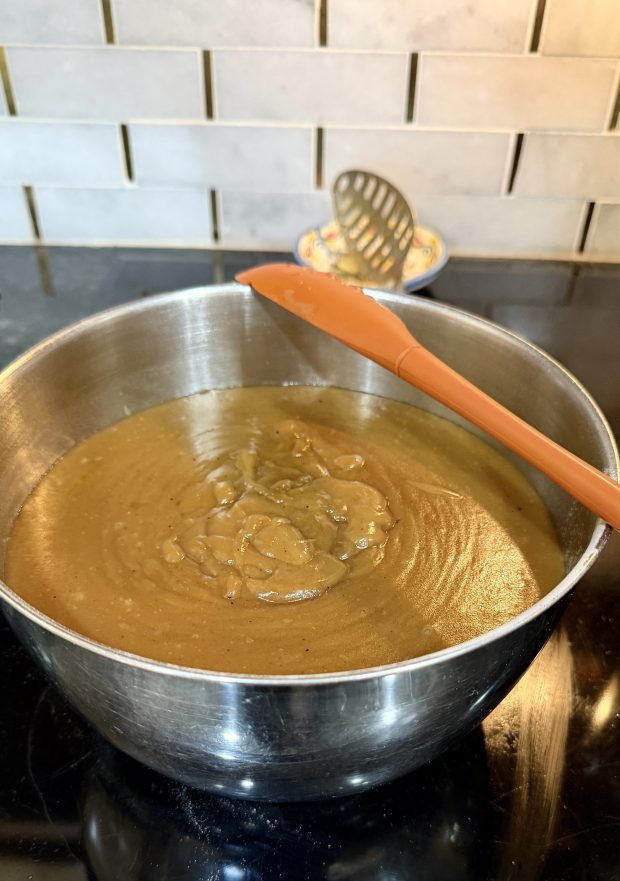
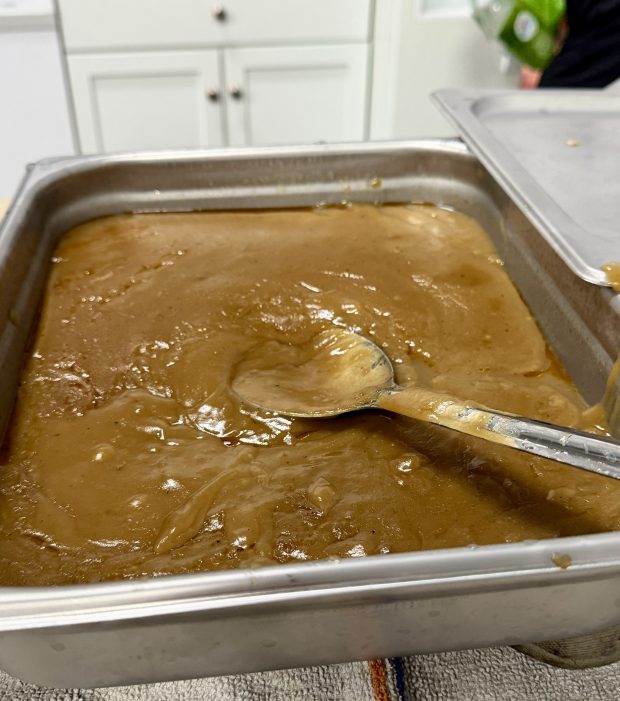
This recipe brings together smoky, tender beef meatballs, the sweetness of bourbon barbecue sauce, and a little kick from hot honey seasoning. But the real magic happens after the smoke, when those flavorful pan drippings become a homemade gravy.
Nothing goes to waste, and every bit of flavor finds its way onto the plate!
(Prep: 20 minutes) (Smoke: ~60 minutes) (Servings: 6–8)
Ingredients
Nonna’s Delights
Smoked Hot Honey Bourbon BBQ Meatballs with Homemade Pan Gravy
Sweet heat. Smoky goodness. Rich, savory gravy. All served over tender egg noodles.
This recipe brings together smoky, tender beef meatballs, the sweetness of bourbon barbecue sauce, and a little kick from hot honey seasoning. But the real magic happens after the smoke, when those flavorful pan drippings become a homemade gravy.
Nothing goes to waste, and every bit of flavor finds its way onto the plate!
(Prep: 20 minutes) (Smoke: ~60 minutes) (Servings: 6–8)
The measurements below are estimated to recreate your original method, since you were cooking by feel.
Ingredients
For the smoked meatballs
| Ingredient | Amount |
|---|---|
| Ground beef (80/20 preferred) | 2 lbs |
| Panko breadcrumbs | 1 cup |
| Large eggs | 2 |
| Garlic salt | 1–1½ tsp |
| Hot honey seasoning | 2 tbsp |
| Bourbon barbecue sauce | ½ cup in mixture |
| Additional bourbon BBQ sauce | ½–¾ cup for coating |
For the homemade pan gravy
| Ingredient | Amount |
|---|---|
| Rendered beef fat and drippings | ¼ cup |
| All-purpose flour | ¼ cup |
| Chicken stock | 2–3 cups |
| Hot honey seasoning | 1–2 tsp, to taste |
| Bourbon barbecue sauce | ¼–½ cup |
| Salt and pepper | To taste |
For serving
- 12–16 oz wide egg noodles
- Salted water for boiling
- Optional butter for finishing noodles
Instructions
1. Prepare the meatballs
In a large mixing bowl, combine ground beef, panko breadcrumbs, eggs, garlic salt, hot honey seasoning, and bourbon barbecue sauce.
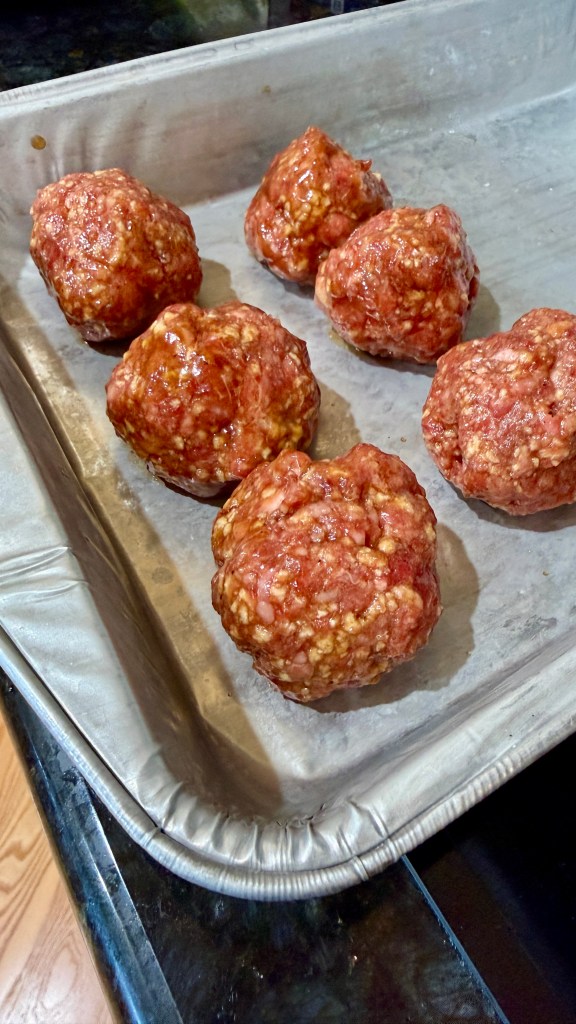
Mix until incorporated without overworking the beef. Form into generous meatballs, approximately 2–2½ inches in diameter.
2. Coat with barbecue sauce
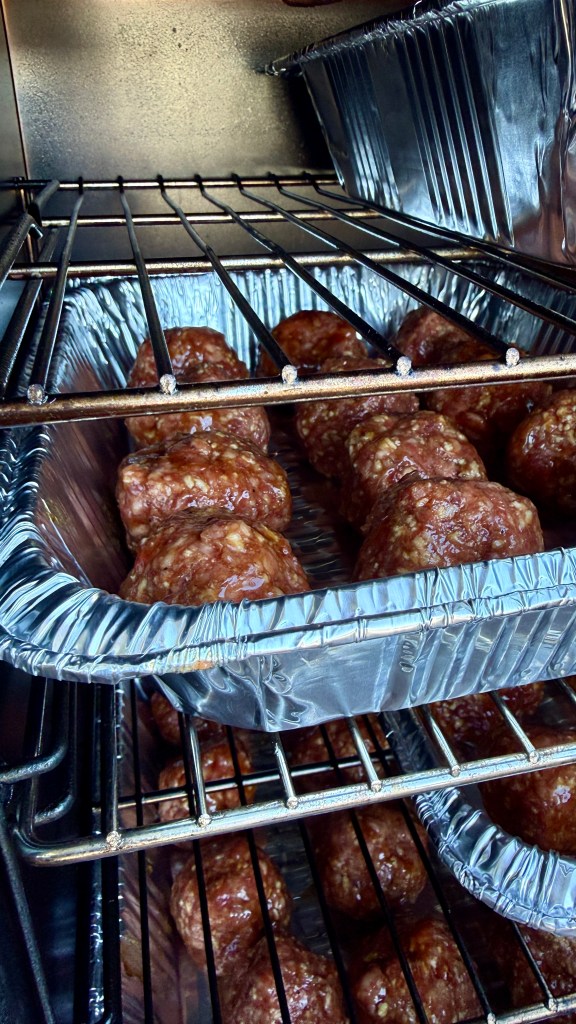
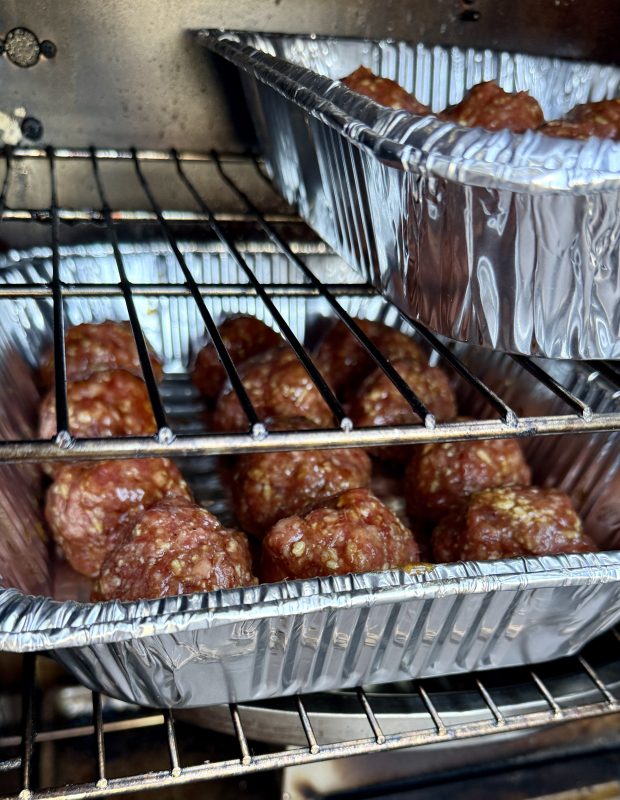
Before placing the meatballs into a roasting pan or disposable aluminum tray, gently toss in additional bourbon barbecue sauce, making sure each meatball gets a good coating.
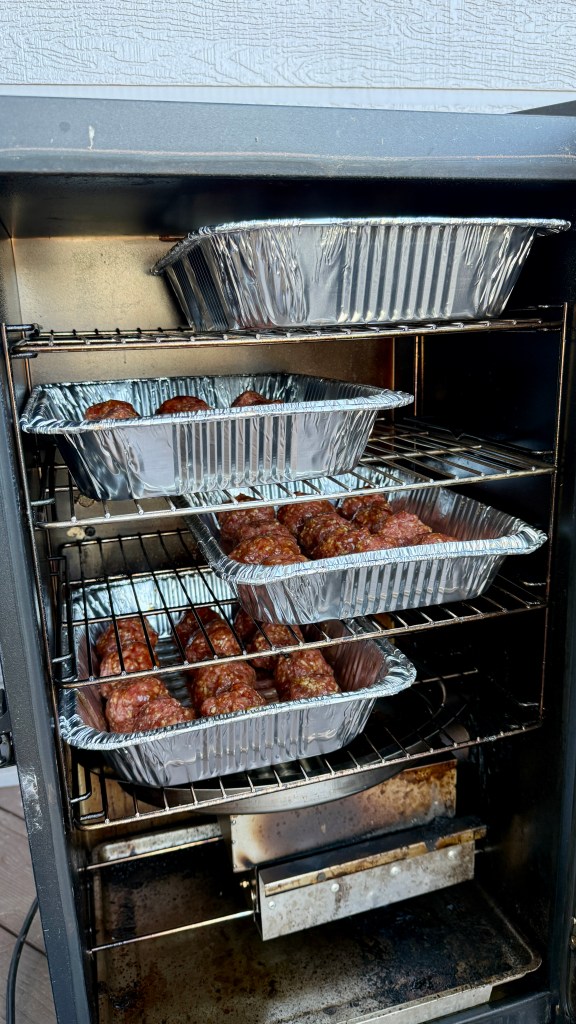
Leave a little space between them to allow the smoke and heat to circulate.
3. Smoke low and slow
Preheat the smoker to 250°F.
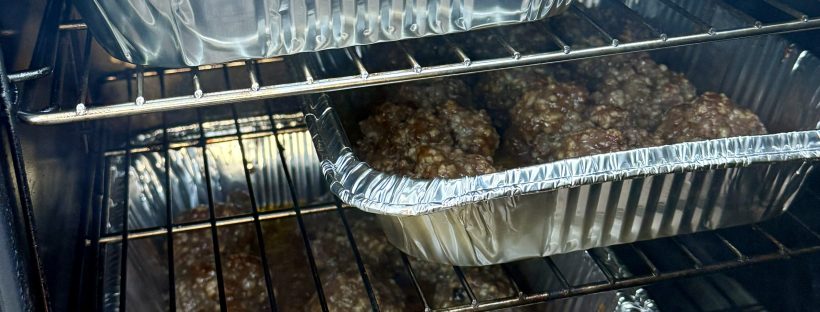
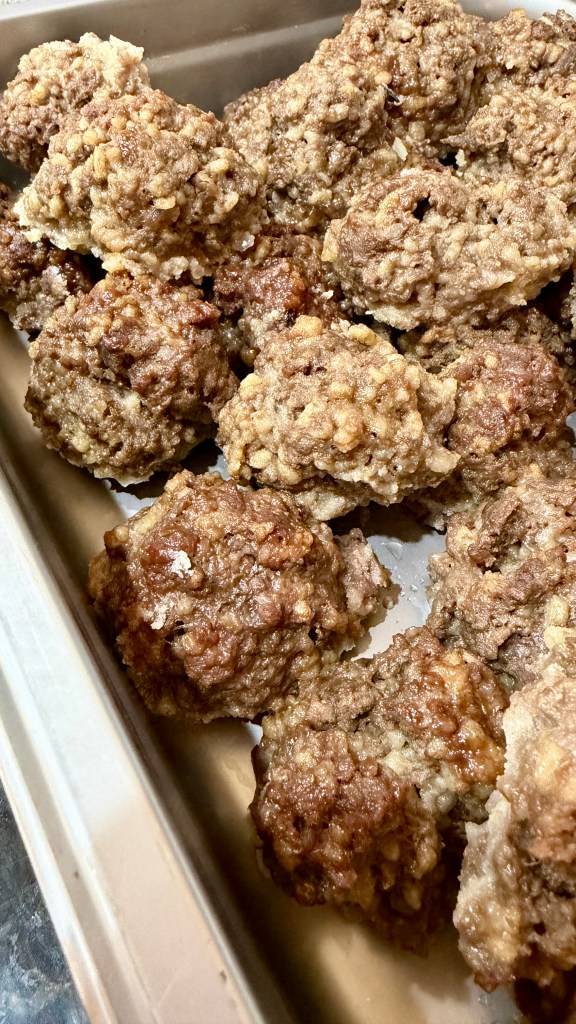
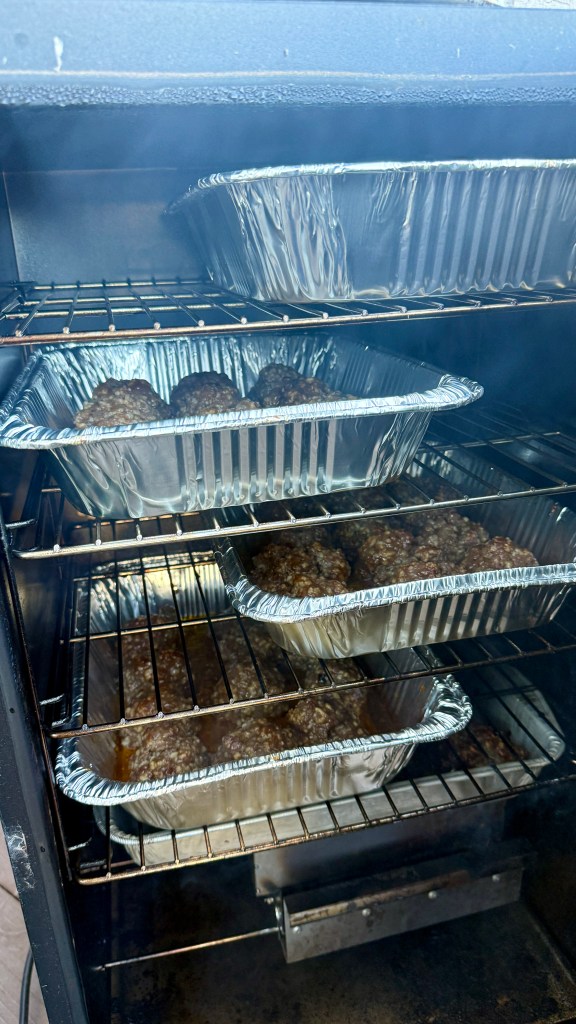
Place the uncovered trays in the smoker and cook for approximately 60 minutes, or until the internal temperature of the meatballs reaches 165°F.
Actual cooking time will vary based on meatball size. Keep the rendered fat and flavorful drippings in the pan for the gravy.
4. Make the homemade gravy
Carefully transfer approximately ¼ cup of rendered beef fat to a saucepan over medium heat. If necessary, supplement with butter to reach ¼ cup.
Add an equal amount of flour and whisk continuously to create a roux. Cook for 2–4 minutes, until the raw flour smell disappears and the roux develops a golden-brown color.
Slowly whisk in 2 cups of chicken stock, incorporating it gradually to prevent lumps.
Add the hot honey seasoning and bourbon barbecue sauce. Simmer until thickened, adding more stock to reach your preferred consistency.
For additional flavor, stir in some of the defatted meat juices from the smoker pan. Taste before adding salt.
5. Cook the noodles and serve
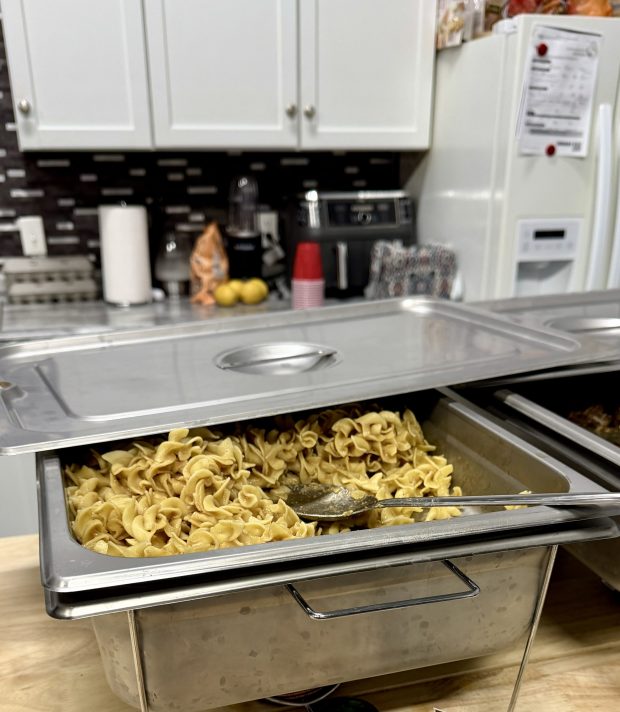
While the gravy simmers, cook the egg noodles according to package directions. Drain and optionally toss with a little butter, our toss in gravy.
Place a generous helping of egg noodles on each plate, top with smoked bourbon BBQ meatballs, and ladle the homemade gravy over everything.
Serve hot!
Nonna’s Kitchen Notes
- Don’t discard the drippings. The rendered beef fat carries the smoke, seasonings, and barbecue flavor that make this gravy special.
- Balance the sweetness. Bourbon barbecue sauce and hot honey seasoning both bring sweetness. Chicken stock and the savory roux help balance everything.
- Keep the roux moving. Cooking the flour properly develops a richer flavor and prevents a pasty gravy.
- Make it your own. More hot honey seasoning brings additional heat, while extra barbecue sauce creates a sweeter, bolder finish.
- For a thicker gravy, start with less stock and add gradually. The gravy will continue thickening as it simmers.
The story behind the recipe
Smoked Hot Honey Bourbon BBQ Meatballs & Homemade Gravy
Sometimes the best recipes aren’t measured. They’re created by grabbing a little of this, adding a little of that, and trusting your instincts.
These homemade meatballs started with ground beef, panko, eggs, garlic salt, hot honey seasoning, and bourbon barbecue sauce. After another coating of BBQ sauce, they went into the smoker at 250°F until perfectly cooked.
But I wasn’t about to waste all those flavorful drippings!
I took the rendered beef fat, made a roux, added chicken stock, more hot honey seasoning, and bourbon barbecue sauce, and turned it into a rich, homemade gravy.
Served everything over egg noodles.
Smoky. Sweet. Savory. A little heat. And a whole lot of comfort food.
That’s what cooking is all about.
#NonnasDelights #HomemadeCooking #SmokedMeatballs #ComfortFood #FromScratch #HotHoney #BourbonBBQ